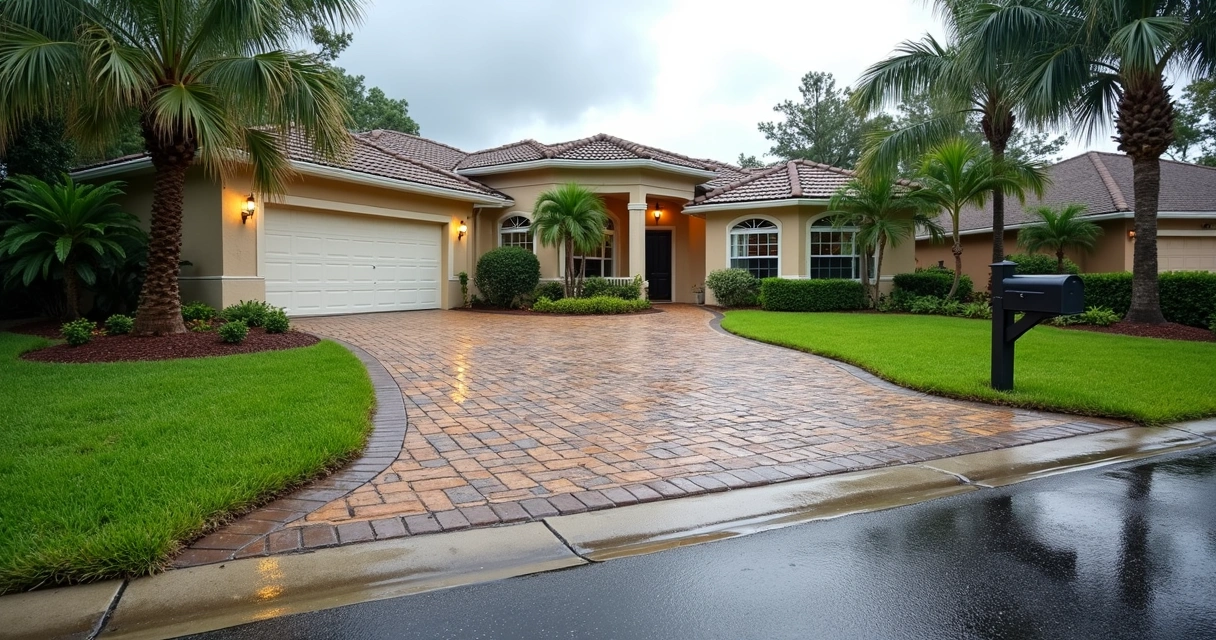
Expanding a patio in Central Florida means working with challenging soils, strict codes, and weather patterns that add to the puzzle. One of the key early questions is simple on the surface: How much fill dirt will you actually need? We’ve seen projects stall, budgets overrun, or drainage turn from afterthought to headache—all from a simple miscalculation. In this article, we’ll walk step by step through how we, at GCM Best Services, approach sizing up fill dirt for large patio expansions, especially around Orlando and Central Florida.
Whether you’re planning a concrete slab, a new paver area, or an artificial turf extension, careful estimation is the foundation for success. From our experience, getting this number right creates a solid, long-lasting, and attractive outdoor space—and keeps surprises to a minimum.
Simple math can protect your investment.
Why fill dirt matters for patio projects
It’s easy to underestimate fill dirt’s role. The right amount is more than just a matter of looks—it determines stability, drainage, and even the lifespan of your surface. In Florida, where the water table can be high and heavy rainfall is routine, even a small miscalculation can mean cracks, sinking, or water pooling under your new patio.
At GCM Best Services, we investigate the subgrade for every install. Fill dirt helps create a firm, properly graded base layer before you pour concrete, set pavers, or install synthetic grass. When we prepare a site, we use these principles:
- Minimize future settling by achieving recommended compaction
- Slope away from the house or pool to direct water runoff
- Match fill type and density to the finished surface—coarse fill for bulk, finer fill for top layer
While the process is more technical than dumping and spreading soil, the results pay off for years.
Breaking down the estimation process
So, how do we approach the math? Here are the key steps we’ve refined over years of installations:
- Measure the total area and shape of the patio expansion
- Determine desired finished height and thickness of fill layer
- Account for grade changes, slopes, or existing uneven spots
- Calculate the fill dirt volume with precision
- Adjust for compaction—what starts loose will shrink when packed
- Add contingency for access, wastage, or unexpected soil conditions
Let’s go through each stage so you can follow (or verify!) the process at home or on-site.
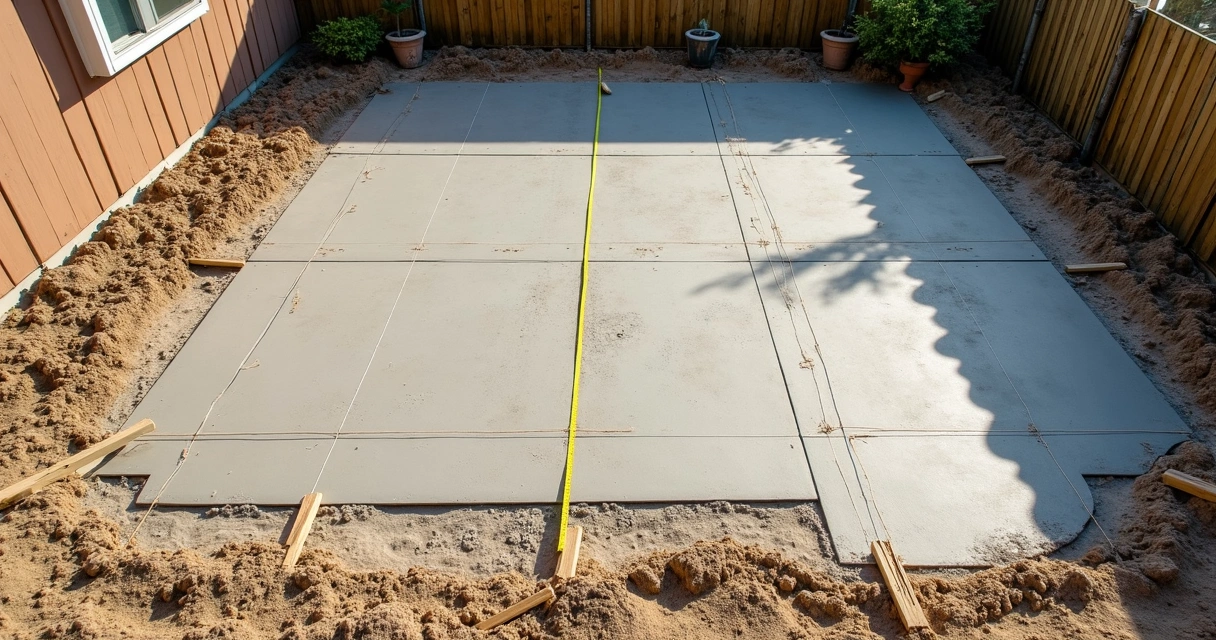
Measuring your patio project footprint
Every estimate starts with measuring, and precision up front saves time later. For a rectangular patio, the formula is straightforward—length times width—but corners, curves, and transitions can throw off quick calculations.
Walk the area and sketch a plan, breaking irregular spaces into smaller shapes (rectangles, triangles, circles) so that you can add their volumes at the end. For example, a patio with a rounded edge might have a rectangle plus a half-circle.
- If you plan a 20×30 ft slab, that’s 600 sq ft.
- For L-shaped or curved expansions, calculate each sector separately.
Take several measurements and average them for uneven boundaries.
Use stakes, string, or landscape paint to mark your lines outdoors. This also helps spot places where grades drop or rise faster than you expect—something we deal with around older pool decks and add-ons.
Setting the finished grade and fill thickness
Once you know the footprint, decide how thick the fill layer should be. This depends on several things:
- The finished patio height—does it need to match an existing surface?
- Whether you’ll top with concrete, pavers, turf, or another hardscape
- Drainage plans: code typically requires a gentle slope away from structures, usually 1–2% (a 1/8"–1/4" drop per foot)
- Existing soil depth and quality—do you need to add more fill to raise low spots?
Picture this: If your final concrete will be 4" thick and you want the slab 6" above the yard, your fill dirt must be tall enough so the combined fill and concrete equal the new elevation, sloping smoothly for runoff.
Always include an extra inch or so for compaction—fresh fill settles as it’s tamped or rained on. In Central Florida, we find most concrete or paver patios need about 6–8" of stable base after compaction.
Calculating basic fill dirt volume
Armed with your area and average fill thickness, you can translate the numbers into cubic feet or cubic yards—how dirt is usually sold and delivered. Here’s the formula we use on most jobs:
- Volume = Area (in sqft) × Depth (in ft)
So, for a 20 × 30 ft patio (600 sqft), raised 0.66 ft (8 inches) on average:
- 600 sqft × 0.66 ft = 396 cubic feet
To convert to cubic yards (1 cubic yard = 27 cubic feet):
- 396 ÷ 27 = 14.7 cubic yards
Round up. Order at least 15 cubic yards, since you’ll lose some volume to compaction.
Accounting for compaction and waste
Fill dirt shrinks as it settles. If you order only the exact calculated number, you may come up short.
- Clay-heavy or wet soils: up to 25% volume lost after compaction
- Clean, dry, sandy fill: usually about 15% shrinkage
So, in our example, 15 cubic yards × 1.15 = 17.25 cubic yards (round up to 18 yards for comfort).
We check compaction values from Penn State’s fill calculator and suggest its use for more in-depth projects or to check sand/soil mix estimates (handy for HOA/permit paperwork).
It's better to have a small pile left over than a sunken slab or the cost of ordering an extra partial truckload.
Types of fill dirt and their roles
Not all fill is equal. We examine the underlying soil—sometimes a sandy base, sometimes clay patches, sometimes construction debris. For most structural patio bases in Central Florida:
- “Fill dirt” with minimal organic material is preferred below slabs or pavers since roots and decomposing debris cause settling
- Coarser material, like crushed stone or road base, performs better where heavy loads (cars, grills, furniture) will sit
- Fine screened fill or a topsoil blend is only used for planting beds or the top inch or two under artificial turf
We recommend, and studies from the University of Florida IFAS Extension agree, blending new fill into the existing subsoil rather than just layering sharply on top. This reduces drainage problems and keeps water from getting trapped at the interface.
Drainage is a theme you will hear from us repeatedly because water that sits creates future problems—cracks, weeds, insects, or even shifting foundations.
Slope, drainage, and advanced considerations
Suppose your yard isn’t level or your home sits on a berm. The calculation can no longer be one-size-fits-all. We survey the site, looking for:
- Significant slopes needing more fill at one end
- Trees or roots to protect or work around
- Drainage connections, swales, or catch basins near the new patio
A typical scenario: The house side is even, but the yard drops by 12 inches over the width. Suddenly, your far edge may need nearly double the fill compared to near the foundation.
We break the area into “contour bands” (much like a topo map). For each, we calculate individual depths and volumes, then total them up. This might involve some math, especially for curved or freeform patios.
The more irregular your yard, the more detail you need in your fill calculations. For large or tricky sites, we sometimes use surveyor’s laser levels or digital apps to build a contour map.
Estimating fill needs for different surfaces
Let’s walk through the major surface types and their typical fill depth needs:
For concrete patios
- 4 inches of compacted sub-base (minimum), but often 6–8 inches for soft soils
- Concrete slab on top: usually 4 inches thick
- Patio must be at least 2 inches above yard level for water flow
See specific recommendations in our St. Cloud concrete driveways and patios guide.
For paver patios
- 4 inches of compacted base, often “road base” or #57 stone, over fill dirt
- Sand bedding (1 inch), then pavers (2–3 inches thick)
- Always grade for drainage—water under pavers leads to shifting and weeds
Practical advice in our paver installation guide and hardscaping articles.
For artificial turf installations
- After removing grass/topsoil, fill up to 3–4 inches with stabilized base
- Final top-dressing with decomposed granite or fine stone, never organic dirt
- Drainage layers critical to protect from Florida storms
We merge turf work with our concrete and paver projects, integrating borders and drains as in our hardscape projects.
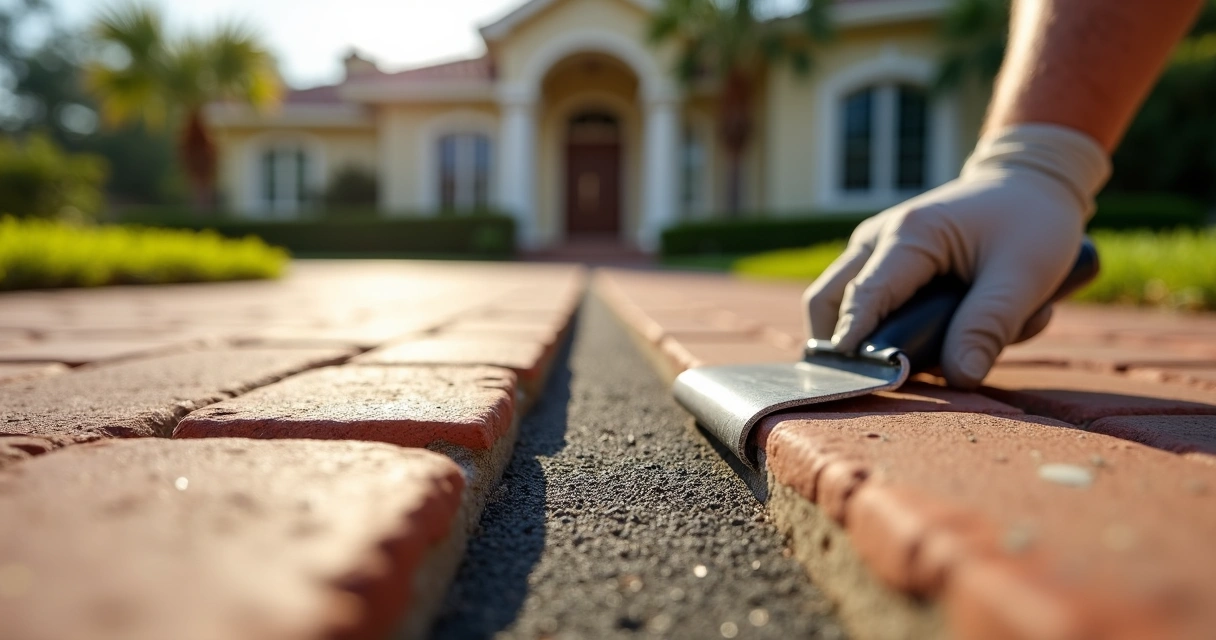
Compaction and quality control in the real world
Moving from plan to reality, we get boots on the ground. Fill is delivered loose, sometimes by the truckload, sometimes in smaller trailer batches.
We distribute in lifts—thin, even layers about 3–4 inches at a time—then compact each thoroughly, using vibrating plate compactors or jumping jacks. This prevents future settling and eliminates “soft spots.” Sometimes, if the area is tight, we use a hand tamper for edges and corners.
- Never install the full fill depth at once. Compaction works in layers, not in one giant pour.
After compaction, the surface should feel hard underfoot, without visible footprints. At this point, we often wet the fill lightly and check for low areas, refilling as needed. Only once the final grade is set and slopes confirmed do we move to install pavers, concrete, or turf.
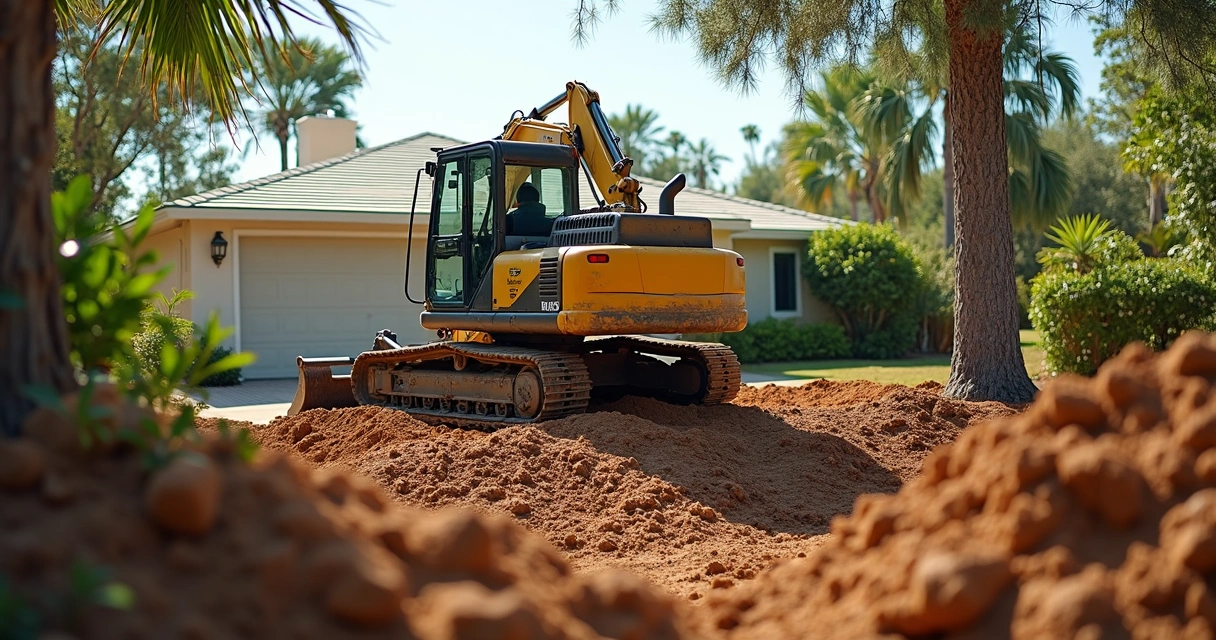
Planning for access, cleanup, and the unexpected
Access on most backyard sites in Orlando presents its own puzzle. We check:
- Gate and fence opening sizes—will the delivery truck or equipment fit?
- Obstacles like trees, utility lines, or tight turns
- Where to stage extra fill dirt or park machinery
We plan for about 10–15% extra fill on large jobs to cushion for on-site surprises—tree roots, rock outcrops, or unstable ground. Better to finish with leftovers than an unfinished patio.
After finishing, leftover fill is removed or used for gardening projects (raised beds, grading low spots). We never leave piles behind.
When to ask for professional help
For simple, level yards and basic rectangles, most DIYers can follow these steps for a reliable estimate. But for anything more—sloped lots, areas near pools, or patios expanding against foundations—getting an on-site assessment pays for itself, helping you avoid expensive mistakes down the road.
That’s why we at GCM Best Services always start with a free on-site visit. We measure, check subsoil, investigate drainage, and recommend the precise blend of fill and base for Orlando’s unique soils. As a licensed, insured Central Florida contractor, we back our projects with photos, clear warranties, and written support on every step.
Useful tips to avoid common mistakes
- Calculate area/volume twice, verify with a friend or contractor
- Order at least 10% more than your best estimate for safety
- Always compact in thin layers; rushing this step costs more in repairs later
- Choose screened fill dirt with minimal organic debris
- Plan drainage carefully—read about permanent solutions in our paver weed prevention guide
- Always blend or feather fill into the existing soil, as per university recommendations
Every site, every yard, every expansion is a bit different. Calculating fill dirt is part math, part site know-how, part art.
Conclusion: Fill dirt estimation is the base for long-lasting patios
We believe that carefully estimating and installing the right amount of fill dirt is the foundation for a strong, resilient, and beautiful outdoor space. At GCM Best Services, our team approaches every Central Florida patio with a method that combines math, experience, and local soil knowledge.
Start with a careful plan, account for compaction, and never cut corners—your patio will thank you for years to come.
Ready to make your patio project a reality? We can provide a no-obligation assessment, detailed quote, and expert advice on fill dirt, drainage, and every step from permit to final finish.
Ready for a professional quote? 📞 (407) 250-1948 • 24–48h • Orlando, Tampa & area.
Frequently asked questions
How to calculate fill dirt volume?
To calculate fill dirt volume, multiply the patio area in square feet by the average fill depth in feet, then divide by 27 to convert cubic feet to cubic yards, the standard delivery measure. For uneven ground, break the project into smaller sections and sum their volumes. Adjust your total by 10–25% to account for compaction and waste.
What type of dirt is best?
For patio expansion, select fill dirt with low organic matter, typically a sandy or loamy subsoil that compacts well and won’t break down or settle over time. Avoid “topsoil” or rich, dark dirt for foundation work. For the final inch or two, if needed under turf or landscaping, blend in screened topsoil for root growth. We always blend new fill into existing soils as supported by university recommendations to avoid drainage issues.
How much does fill dirt cost?
The cost of fill dirt varies based on quantity, delivery, and quality needed, but in Central Florida in 2024, unscreened fill often ranges from $15 to $35 per cubic yard delivered. Screened or premium fills, or small delivery loads, can be higher due to haul distance or labor. For large projects, ordering in bulk by truckload can save money. Always ask if compaction loss is included in the supplier’s recommendations.
Where to buy quality fill dirt?
Quality fill dirt can be sourced from local landscape yards, materials suppliers, or excavators familiar with Central Florida soils. We advise against buying from unknown or unverified sources, as contaminated fill can cause long-term problems. At GCM Best Services, we vet our suppliers and choose fill matched to each site’s drainage and stability needs.
Is fill dirt necessary for patio expansion?
Yes, fill dirt is essential when the natural site is below the target patio level, when correcting drainage, or when re-establishing a compact base after removing old structures or plantings. Skipping proper fill leads to cracks, uneven settling, ponding, and reduced patio life. For minor grade adjustments, you may not need as much fill, but for any large expansion or where heavy loads are planned, preparing with fill is a best practice—one we follow on every project.